I use to carry my spare paddles on the rear deck. I have now since moved the paddles to the front deck, so as not to get in your way when performing Cowboy self rescues. I also ditched the tubes for commercial paddle holders, such as the ones from Reed Chillcheater or North Water Paddle Britches. The ones I personally use are the North Water paddle Britches, only because I don't think Reed were making theirs at the time. I've had the North Water Britches for a few years now. They stay on the boat with strong velcro fixings, even when being transported, and I have only ever removed them from the boat a couple of times, when changing the deck lines for shiny new ones, such as the reflective lines from Whetman Equipment. I also use tubing on the Bow deck lines to protect fingers in rescues. (See photo below).

Anyway, back to the paddle tubes. Prior to the North Water Britches, I found, stowing the paddles was scratching the gel coat on the deck (as can be seen the photo below). I also found it is almost impossible to re-stow your splits, especially when on your own at sea, under the boats rear bungees.

Having seen other Sea Kayaker's securing their splits in tubes, I decided to make my own.
Ingredients
1 x 6ft domestic waste tube from B&Q (or similar). The diameter of the tube has to be large enough to be able to insert your split paddle into, otherwise the tube will be useless! (unless you happen to be a plumber)
About 8 inches of 4 mm bungee shock elastic cord. (I bought 10 meters of black bungee off Ebay for a £5. This has all sorts of uses, not just for kayaking, but for around the house too!)

A bit of closed cell foam and maybe some Duck tape.
Tools required
Saw, Knife, Drill with 4mm bit.
Instructions
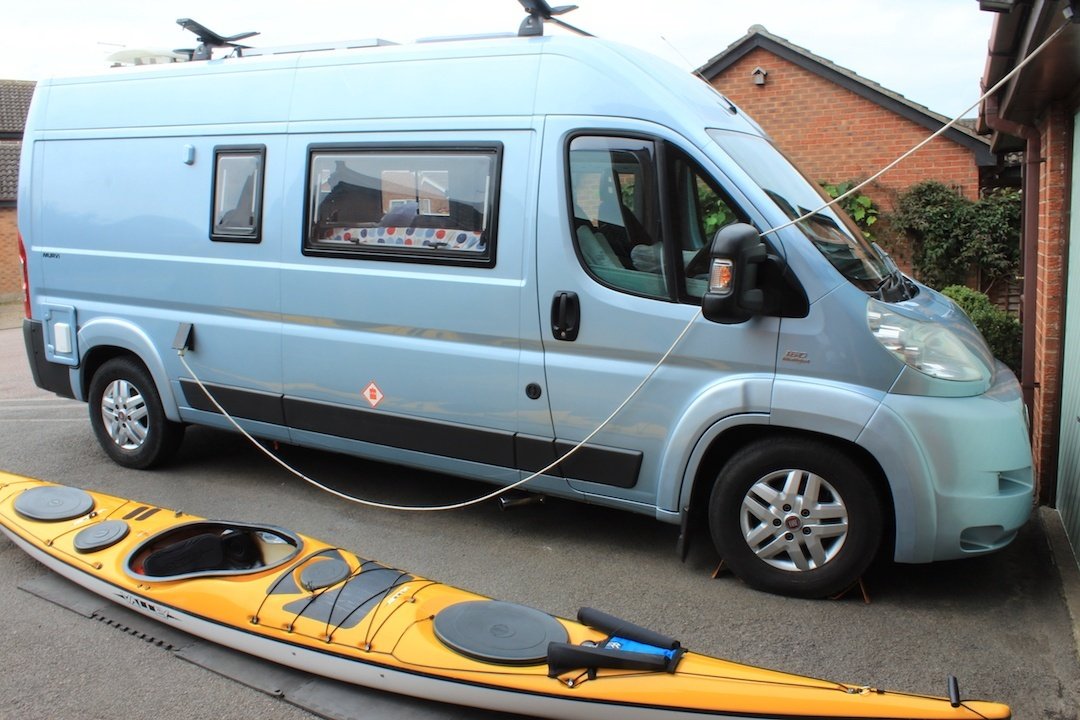
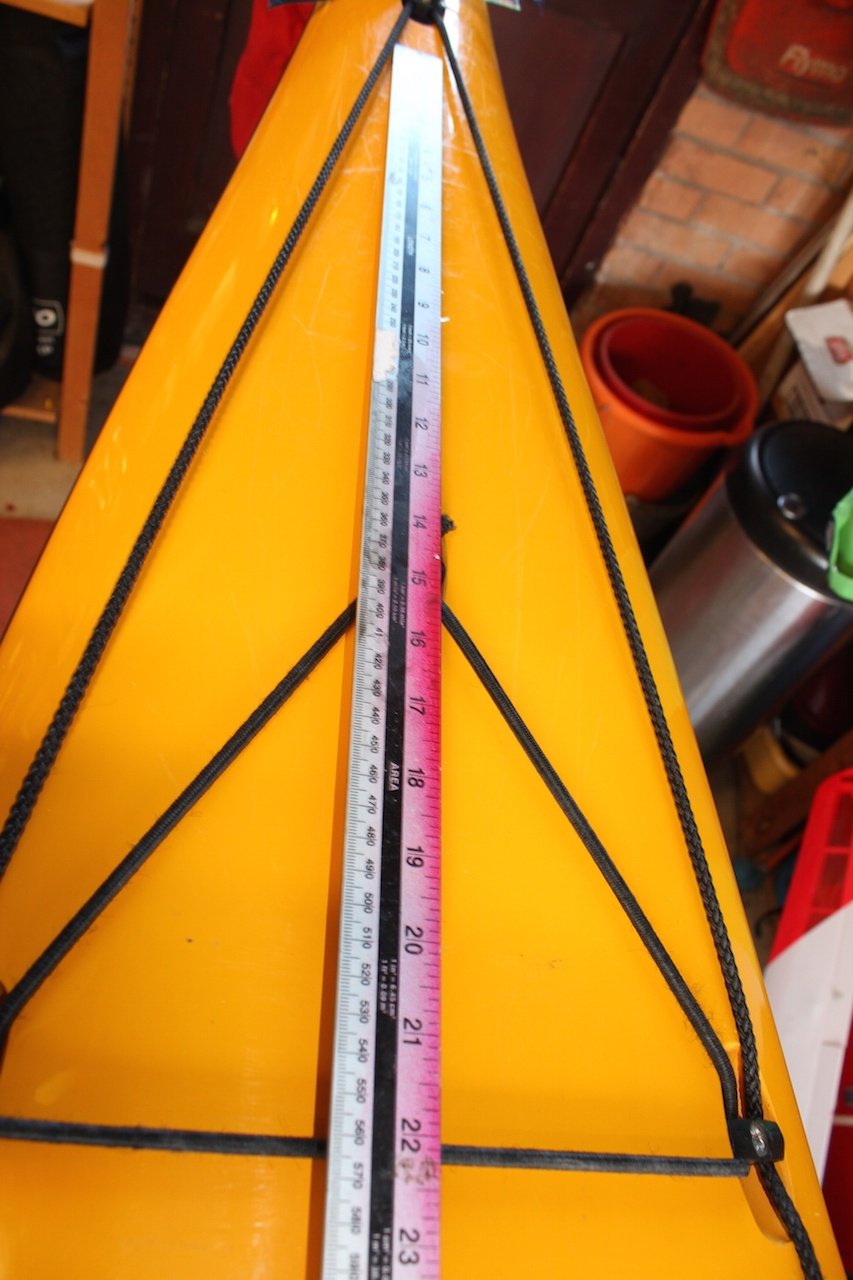
1. Cut you tube to length. On my first set I made, I cut the tubes far too short, about a foot in length. This was way too short with my deck line/bungee cord configuration on my Valley Etain. Take a look at the photos below to get ideas how long/best to cut your tubes. I ended up with a tube length approximately 22 inches. They are this length so that the ends of the tubes can fit under the bungee cord fitted to my boat. (at the bottom of the picture below)
2. Drill through one end of both tubes with your 4mm drill
3. Take the 8 inches of bungee cord and tie a nice big knot in the middle. In the pictures you will see I have a plastic toggle. This is the end of a hook that I used in the prototype, but found it was unnecessary. Instead of a big knot you could thread a bead or similar.
4. Pass the ends of the bungee through each tube and tie off.

5. On the other end of the tubes add your foam (to protect the deck and also raises the tubes away from the deck for easy storage). The foam I used had self adhesive glue on one side (an old hip pad from another boat that was never used). I wrapped some duck tape around the foam to make it nice and secure. 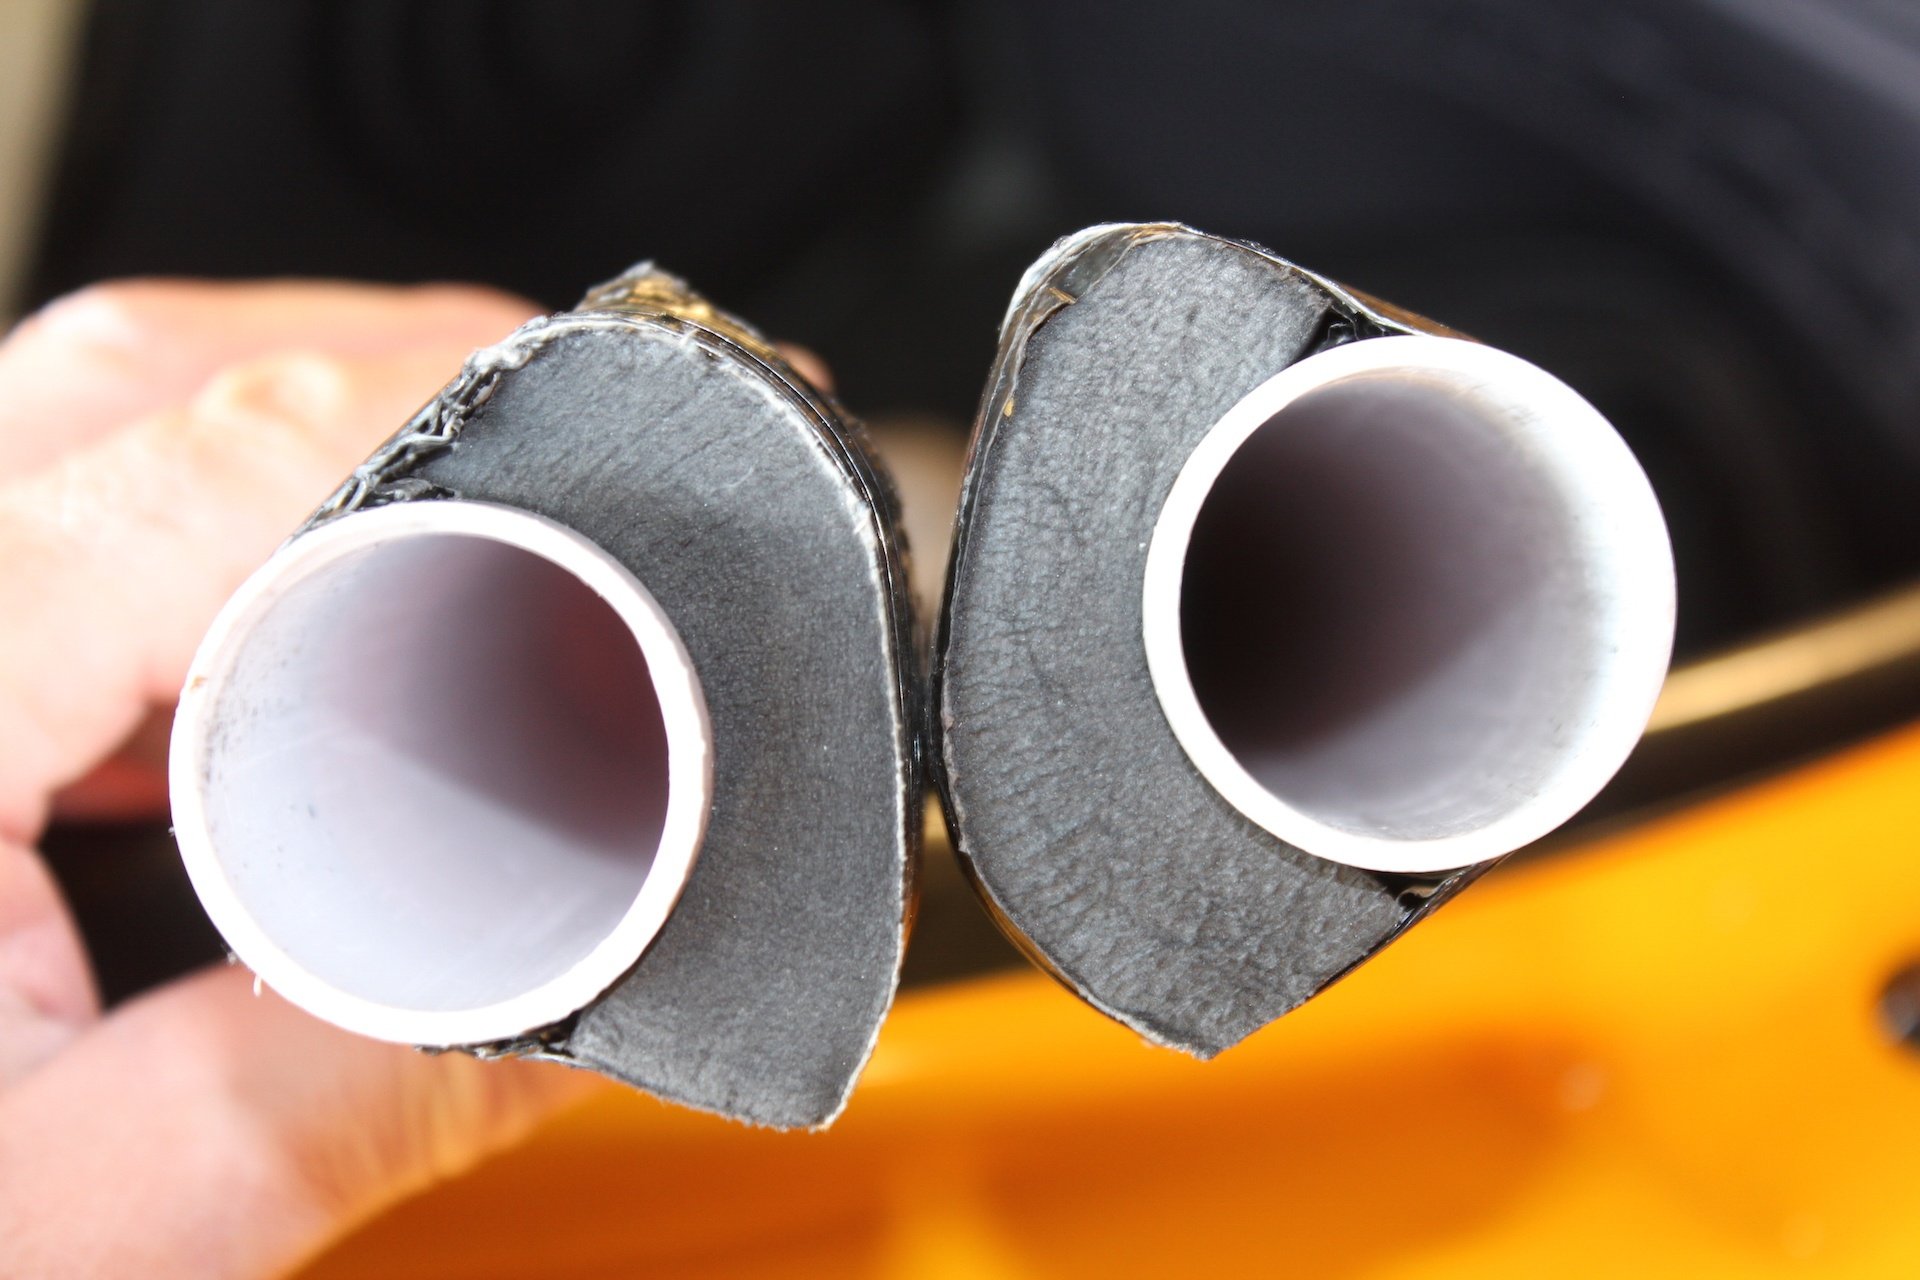
6. It is also a good idea to carefully using a knife to chamfer off the inside of the tubes to allow your splits to stow easily
7. By inserting the tubes/bungee cord under the deck lines at the bungee cord end, the other ends are fitted under the boats bungee cord as in the picture below.
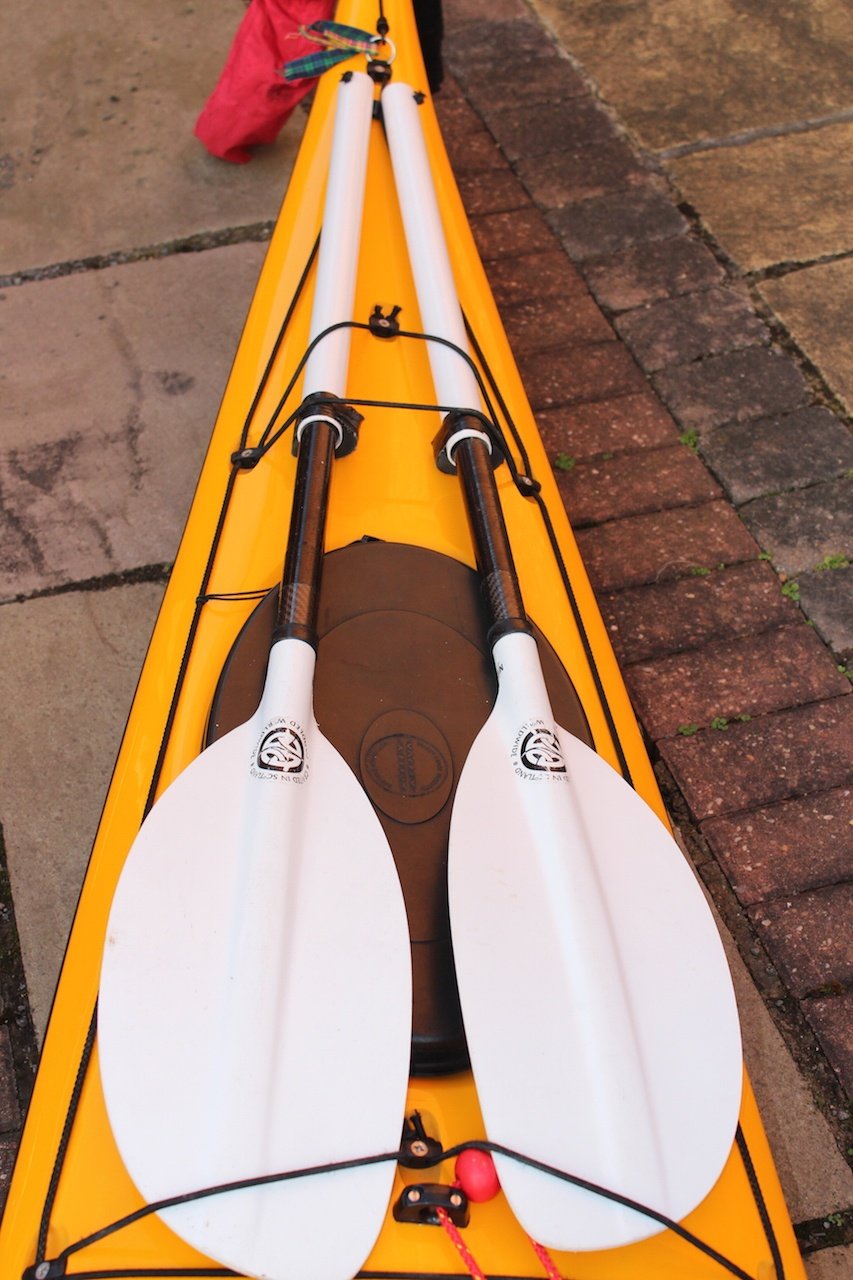
At first, I created some additional bungee attachments to secure the tubes (using some of the 10 meters of bungee cord I bought), but I found this to be completely necessary. I have yet to loose a spilt paddle (Doh! I've done it now, famous last words etc) and have paddled/surfed with them in some pretty heavy seas. I've yet to try it yet, but I reckon if I needed to, when capsized I could reach behind and grab a paddle to roll. But I may well wait for some warmer weather before I try this out.
Another Top Tip is to get some self adhesive vinyl (comes in all manner of colours) and place it on the deck where your paddles touch, to prevent any scratching. You paddles will scratch the vinyl over time, but at least the deck is protected. The vinyl can be easily removed and replaced, whereas scratches to your deck will be there for ever!